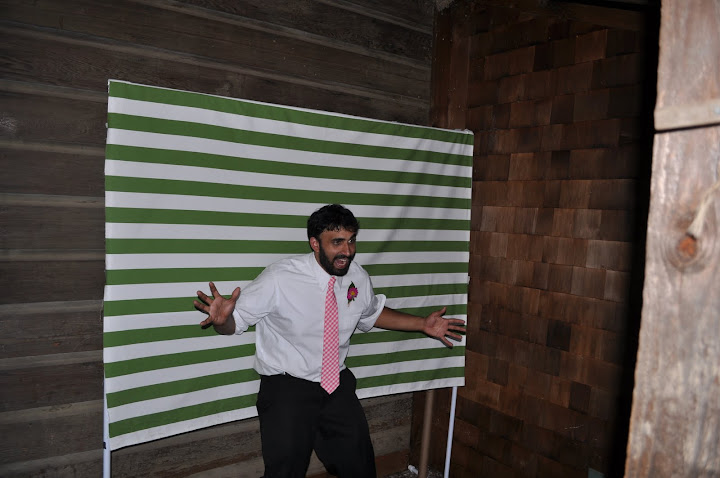
Our best man, Virat, can hardly contain his excitement about the faux-to booth!
Total cost: about $46.
1. Fabric: $16 for 2 yards (which you could get for cheaper, but I liked my Ikea fabric)
2. PVC Pipe: $10 for the long pieces
3. Small PVC Pipe Fittings: $5 for the caps, t-pieces and elbows
4. Props (bought from a party supply store and made with crafty leftovers): $15
Other items we used:
1. Our own point and shoot camera
2. A camera tri-pod (our photographer lent us one of hers--ask yours if they have one you can use, or ask your family or amigos if they have one)
3. Instruction sheet with very very basic directions for our guests
Here are a few photos to help explain our set-up:

Our (ikea) frame containing the embarrassingly simple directions.

The camera was set on the tripod about 6 feet back from the fabric. We played around with the height and distance of the camera to try to get the most out of the backdrop. We also had to consider our guests, who ranged in height from 4'11" to 6'8"!
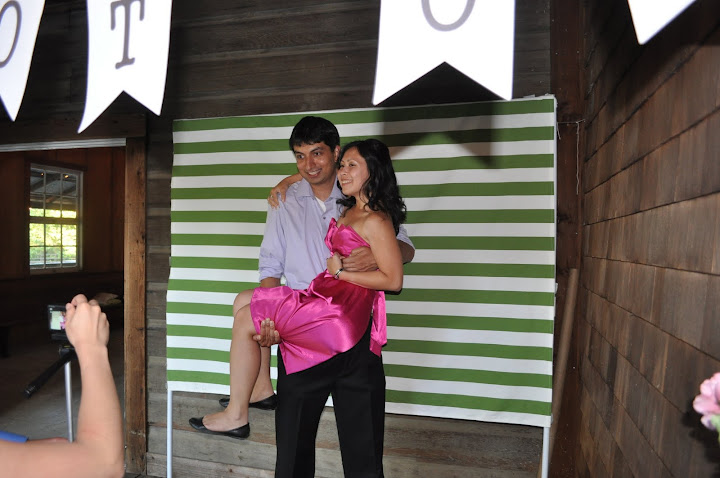
Check out the smoothness of that fabric. Nice. My bridesmaid came up with the idea of ironing the fabric, then wrapping it around a wrapping paper tube in order to transport it to the venue (Genius! [I hope some of her smarts rub off on me]).
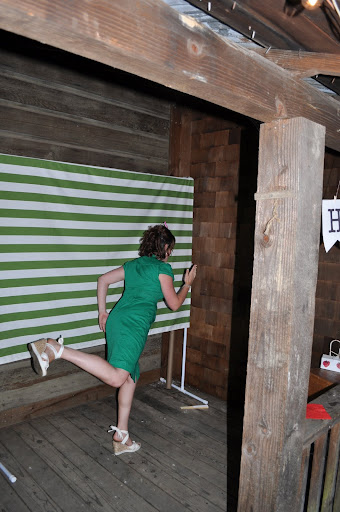
Running (wo)man! You can see the base of the stand here.

View from the backdrop-side: the camera on the tripod, with props and instructions set up on the railing (a table would work just dandy).
So there you have it. Any questions? I promise I don't bite (well, unless you have some dessert in your hand, and I try to bite that and then bite your finger in the process [but who could blame me for that?!]).
(All photos in this post are guest photographs [thanks friends!])
(All photos in this post are guest photographs [thanks friends!])

No comments:
Post a Comment